Card Stock Organization
Friday, April 27, 2012
Hey there! I have a different kind of post today. I don't know if it's the weather or what, but I've been in major organizational mode. Whenever the mood strikes, I must take advantage of it because it might be gone as quickly as it came.
Back in 2010 I posted a whole series called "Frugal Friday" where I shared tips for getting the most out of your supplies. In this post, I showed you how I organized my card stock. Well, that was two years ago and as of yesterday, it was still filled with PTI card stock. I've been on the Clear & Simple Stamps design team for almost two years now (and haven't bought anything but CSS card stock since) and just now switched my files over to all CSS card stock. Plus, I added a little something to organize my card stock scraps.
Until yesterday, I was keeping all my CSS card stock in a little bin where all the paper was stacked on top of each other in no particular order. It was a nightmare when I needed to order card stock but wasn't sure what I was running low on.
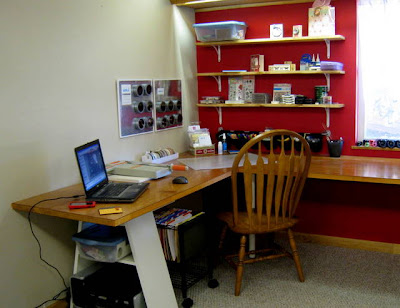
Okay, so here is my hanging file rolling cart. I keep it under my desk right next to my chair so it's within arms reach.
I have a hanging file folder with a manila file inside for each color of card stock. I punched a circle of each color, folded it over the tab and stapled it in place. Then I wrote the name of each color in the punched circle. I put the neutral colors I use the most in front (white, cream, and kraft).
In my new system, I decided to keep only large sheets of paper in the folders. I found that when I kept scraps in here last time that they would slide out the sides.
Here is the system I created for my scraps, which I consider any size that will fit in here. I used a Huggie's wiped container with the lid removed. I'm keeping this on top of my desk so it's easy to reach. It will also be handy when I clean up after crafting, just toss the scraps right in the box.
I basically did the same thing as the hanging file folders, same order of colors as well. I took some manila file folders and cut them up (each divider is 7.75" x 4.5"). Since these don't have a tab on top, I punched a circle and just stapled it right to the divider, staggering them so it's easy to see.
Here's a peek inside. I'm also keeping die cut scraps in here as well. I can't wait to put my new system to work.
Have a great weekend!!!


.jpg)